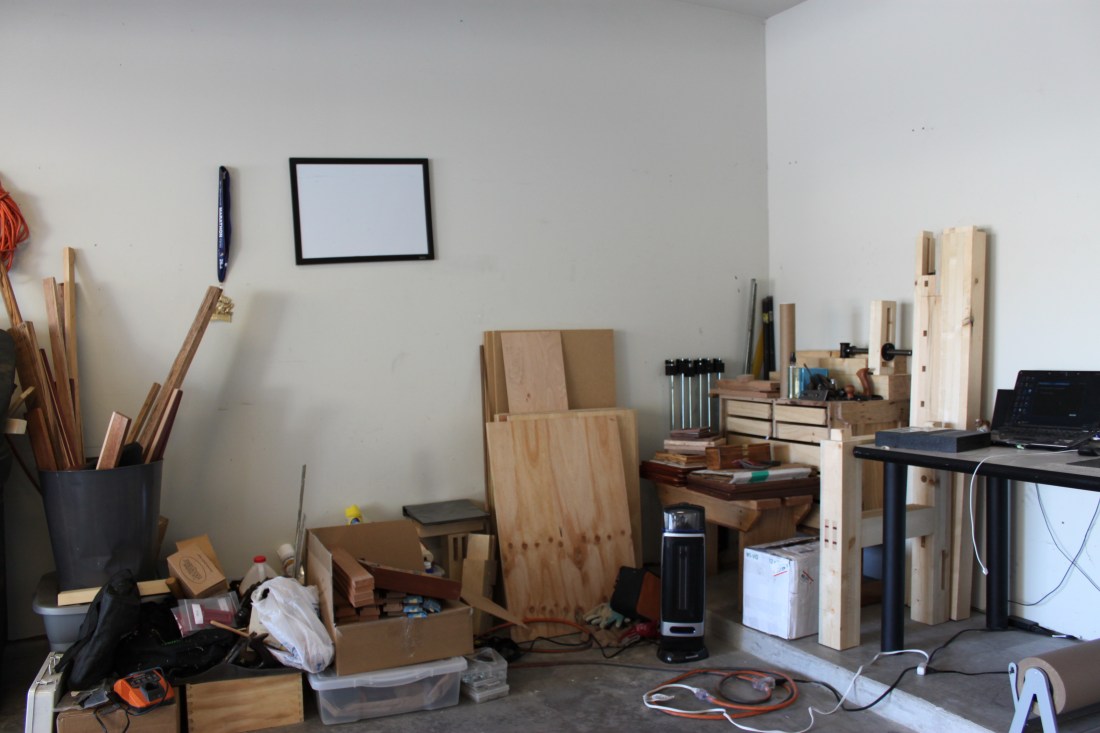
Well I was finally able to get back in the shop since arriving back home last Sunday. It wasn’t easy though. I kinda left the garage in a disarray when I left and it was no better when I got back. 
 Yeah, that’s supposed to be my shop area… Well after three days of on and off again cleaning, I finally got my side of the garage in a usable state.


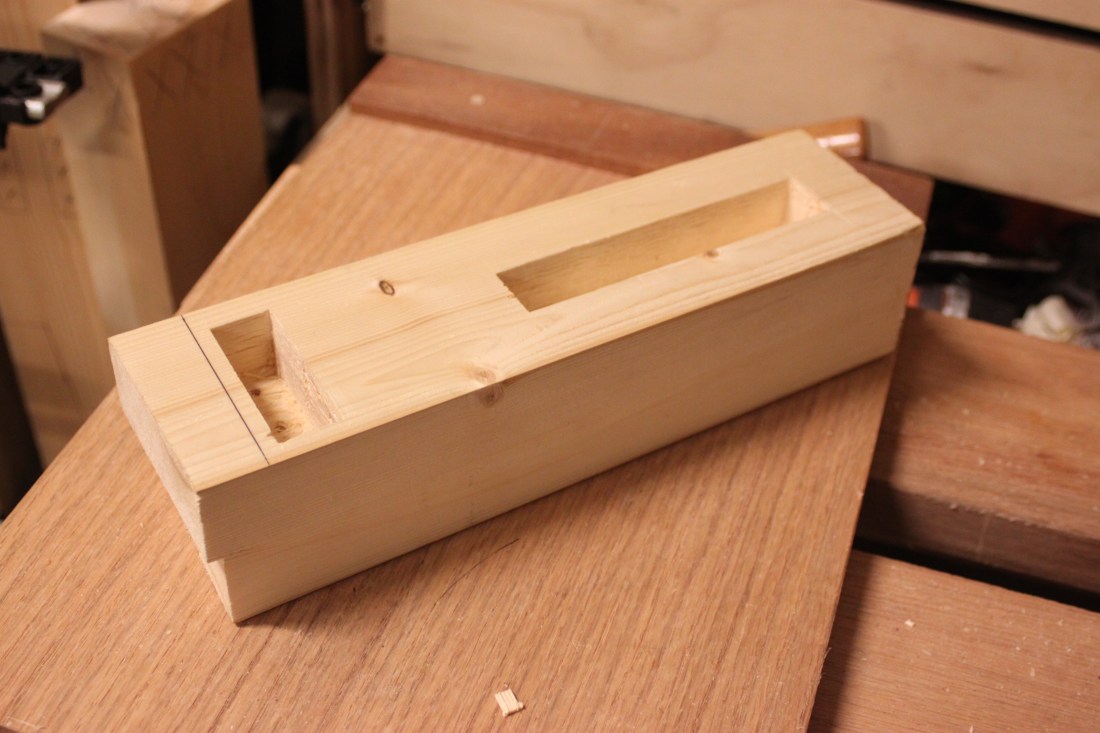
 So now my first state of business was finishing the wagon vise! Before I can start on today events, let me catch up on what was done before I left to Yuma. After I finished my tenon part of my end cap it was time to cut out the mortises.
 I don’t mean to brag but these mortises pretty much fit like a glove from the get go.
Next was getting the hole cut out for the screw portion of the wagon vise. Since the threaded rod has a 1″ diameter I established the center with a number 16 auger bit between the spacer and made my mark.
Once I had the center outlined I placed the threaded insert over the outline and traced it.
After it was traced I finished drilling the hole through the end cap…
And then I chopped down to the depth of the hardware and marked my holes and drilled for the mounting screws.
I did have to add a little bit of a chamfer to the edges to make room for the welding on the hardware. Once I mounted the hardware and went to dry fit it, I found out there was one little problem. Again, since the hardware was an after thought, things didn’t quite line up.
 So I marked the edges of the hardware on the bench top the and cut back to the depth of the mounting bracket. Once everything was nice and flush, I left to WTI.
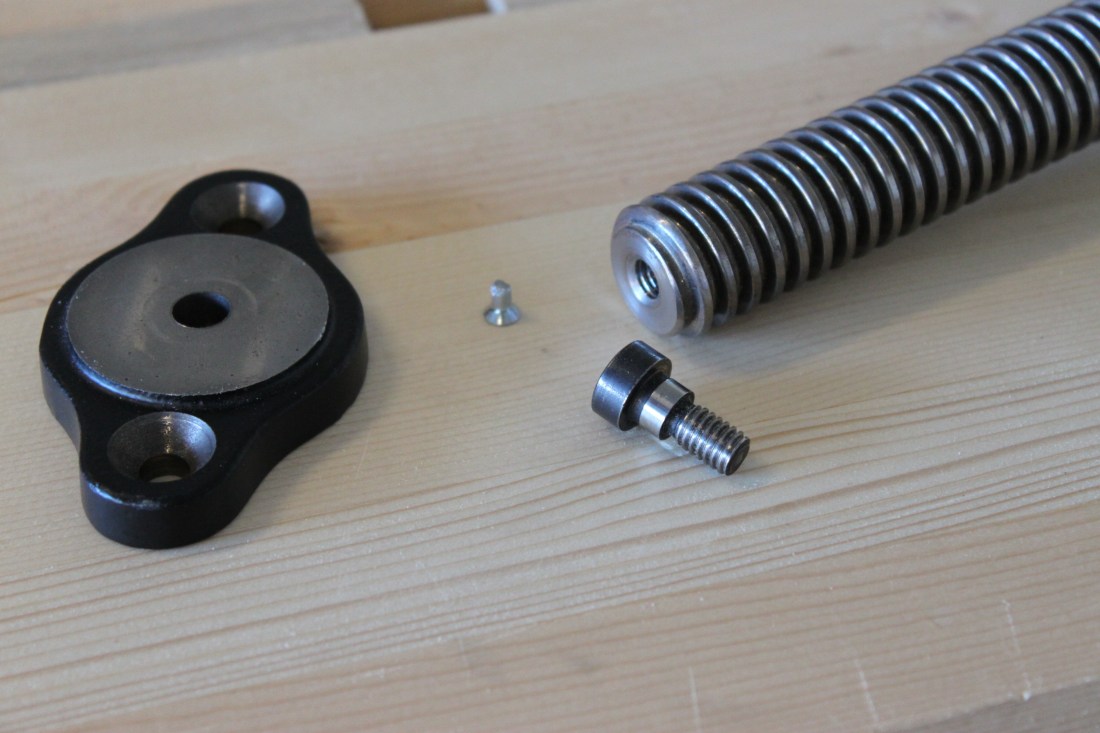
Now we come to today. There was one issue that was making this whole set up a real PITA. When you tightened the screw that secures the mounting piece on the moveable portion of the vise, it makes contact with the bracket before bottoming out which causes it to tighten the bracket rather then letting it spin freely. Therefore when you loosen the vise it would unscrew completely. To correct this issue I cut the top off a small screw and placed it in the screw hole to act as a spacer to give clearance between the bracket and screw.
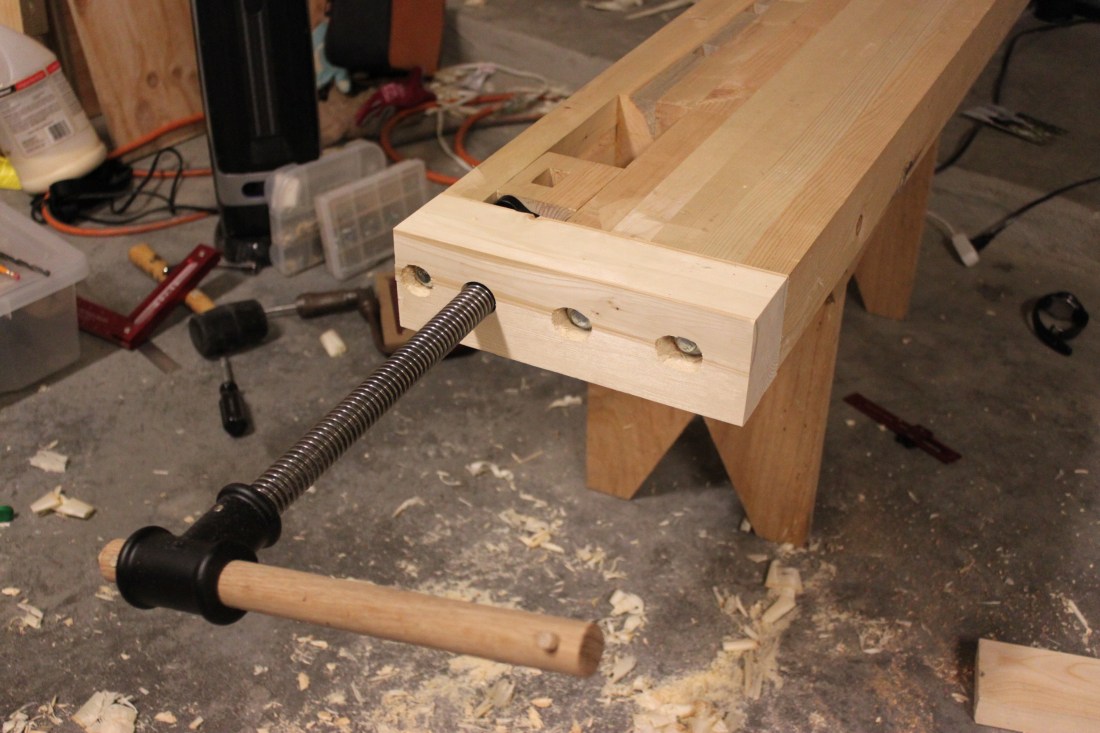
 Now I know in my last post about the vise I mentioned how I did not want to use any metal fasteners on this bench. Well while in Yuma I came to the conclusion that since I’m dealing with pine, to best reinforce the end cap it might be best to go ahead and use them. Luckily for me I already had some lag bolts and washers from a previous project that I never used. I marked for three bolt and drilled about 3/4″ down. From the center of the auger bit it continued with a 5/16″ drill bit for the 3/8″ bolts. I elongated the two back bolt about 1/16″ and 1/8″ respectively. Nothing fancy, just some paring away with a chisel.
 Once it was all said and done and the end cap was mounted, I installed the vise hardware completely and cleaned up the top and edges. I used a 1″ dowel pegged with a 5/16″ dowel on both ends for the handle. Here she is closed…
 In summary I would have done a lot different. First would obviously be to account for the size of the hardware before building. There won’t be too much flattening of this bad boy since parts of the hardware are almost already flush with the top. I would have also like to use up more of the vise length. There’s about four more inches of unused rod that could have been nice to have. Also, I don’t like how close the left bolt is to the edge but so long as it holds, I guess I’ll try to not let it bug me. Aesthetically, I may go back in a square up the elongated holes. You may or may not be able to tell but they are quite funky in shape.
Other that waxing the sides and runner grooves, I’m calling the wagon vise complete! I don’t have any bench dogs made yet but I did test it out by placing a piece scrap in the middle and clamping it down and boy does she hold. I couldn’t even budge the board! Next is getting the base assembled…


